The ability to take a remote desktop screenshot is a powerful tool for providing technical assistance. By taking a picture of the remote computer, the technician can get a snapshot of settings, error messages or other data for further analysis.
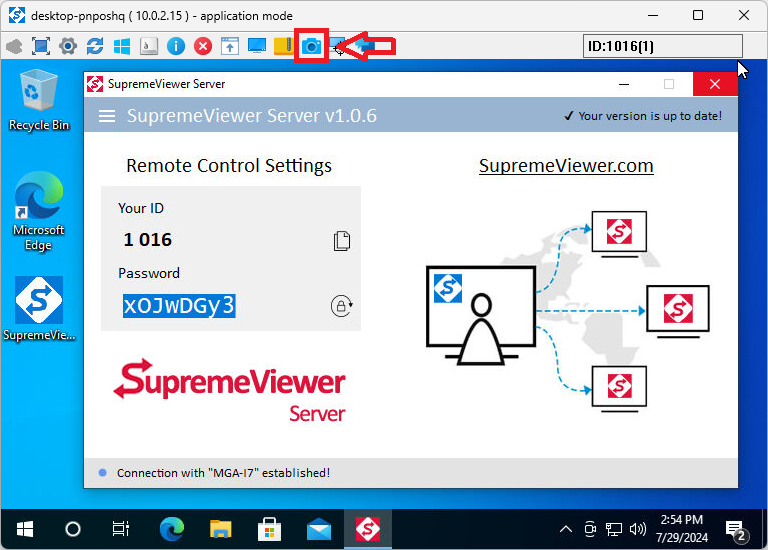
SupremeViewer users can capture screenshots on remote Windows computers using a button from the main menu (toolbar). The functionality is working silently and does not require any configuration changes on remote computers.
1. Connect to the remote computer by using the SupremeViewer Client.
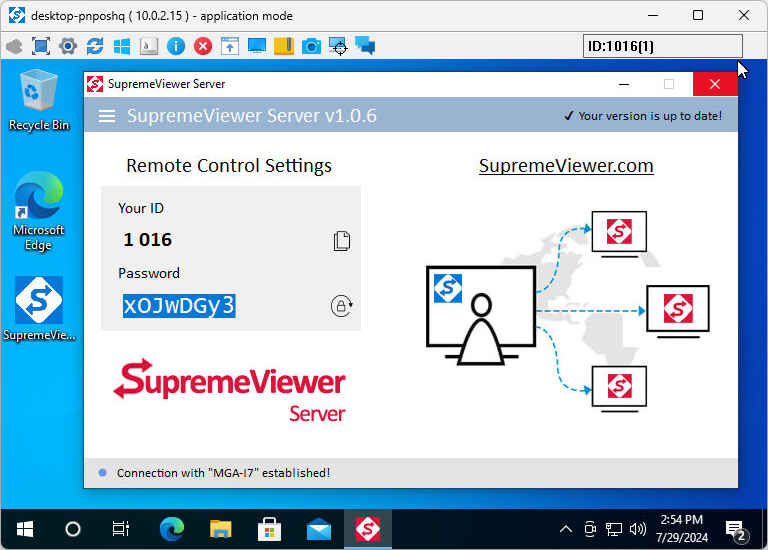
The user must connect to the remote computer using the provided ID and Password from SupremeViewer Server.

If you need more information:
How to download and run SupremeViewer Server.
How to download and run SupremeViewer Client.

If you need more information:
How to download and run SupremeViewer Server.
How to download and run SupremeViewer Client.
2.Take a screenshot.
From the main menu, to click the blue camera icon called “Screenshot”. 


3. Use the image.
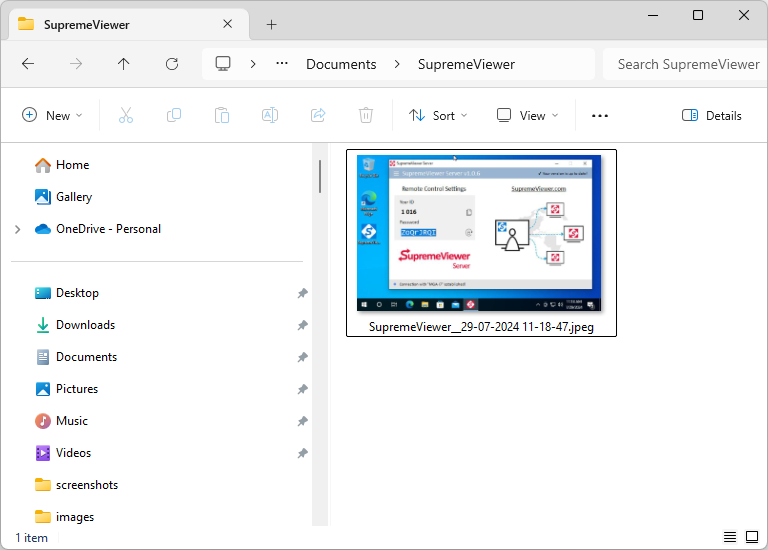
The screenshot is automatically transferred and saved as an image (.jpeg format) file in “C:/Users/<Local User>/Documents/SupremeViewer” folder of the local computer.

